Copper & PEX. Repipe Scripps Ranch
When Do You Need Repipe Services?
-After you notice a big spike in your water bill
-There are frequent burst pipes and water leaks
-There is a huge loss in the home’s water pressure.
Some of these problems might require minor repairs, in which case we will be glad to offer a prompt solution. Repipe services might end up saving you money in terms of future repairs and utility costs.
What Is The Best Pipe Material For You?
There are two popular types of piping materials that plumbers use in repipe projects:
Copper and PEX. Both of them have their advantages and disadvantages. Either way , they’re safe and efficient, however, there are a few key differences that might sway your decision about which one to choose:
–Copper
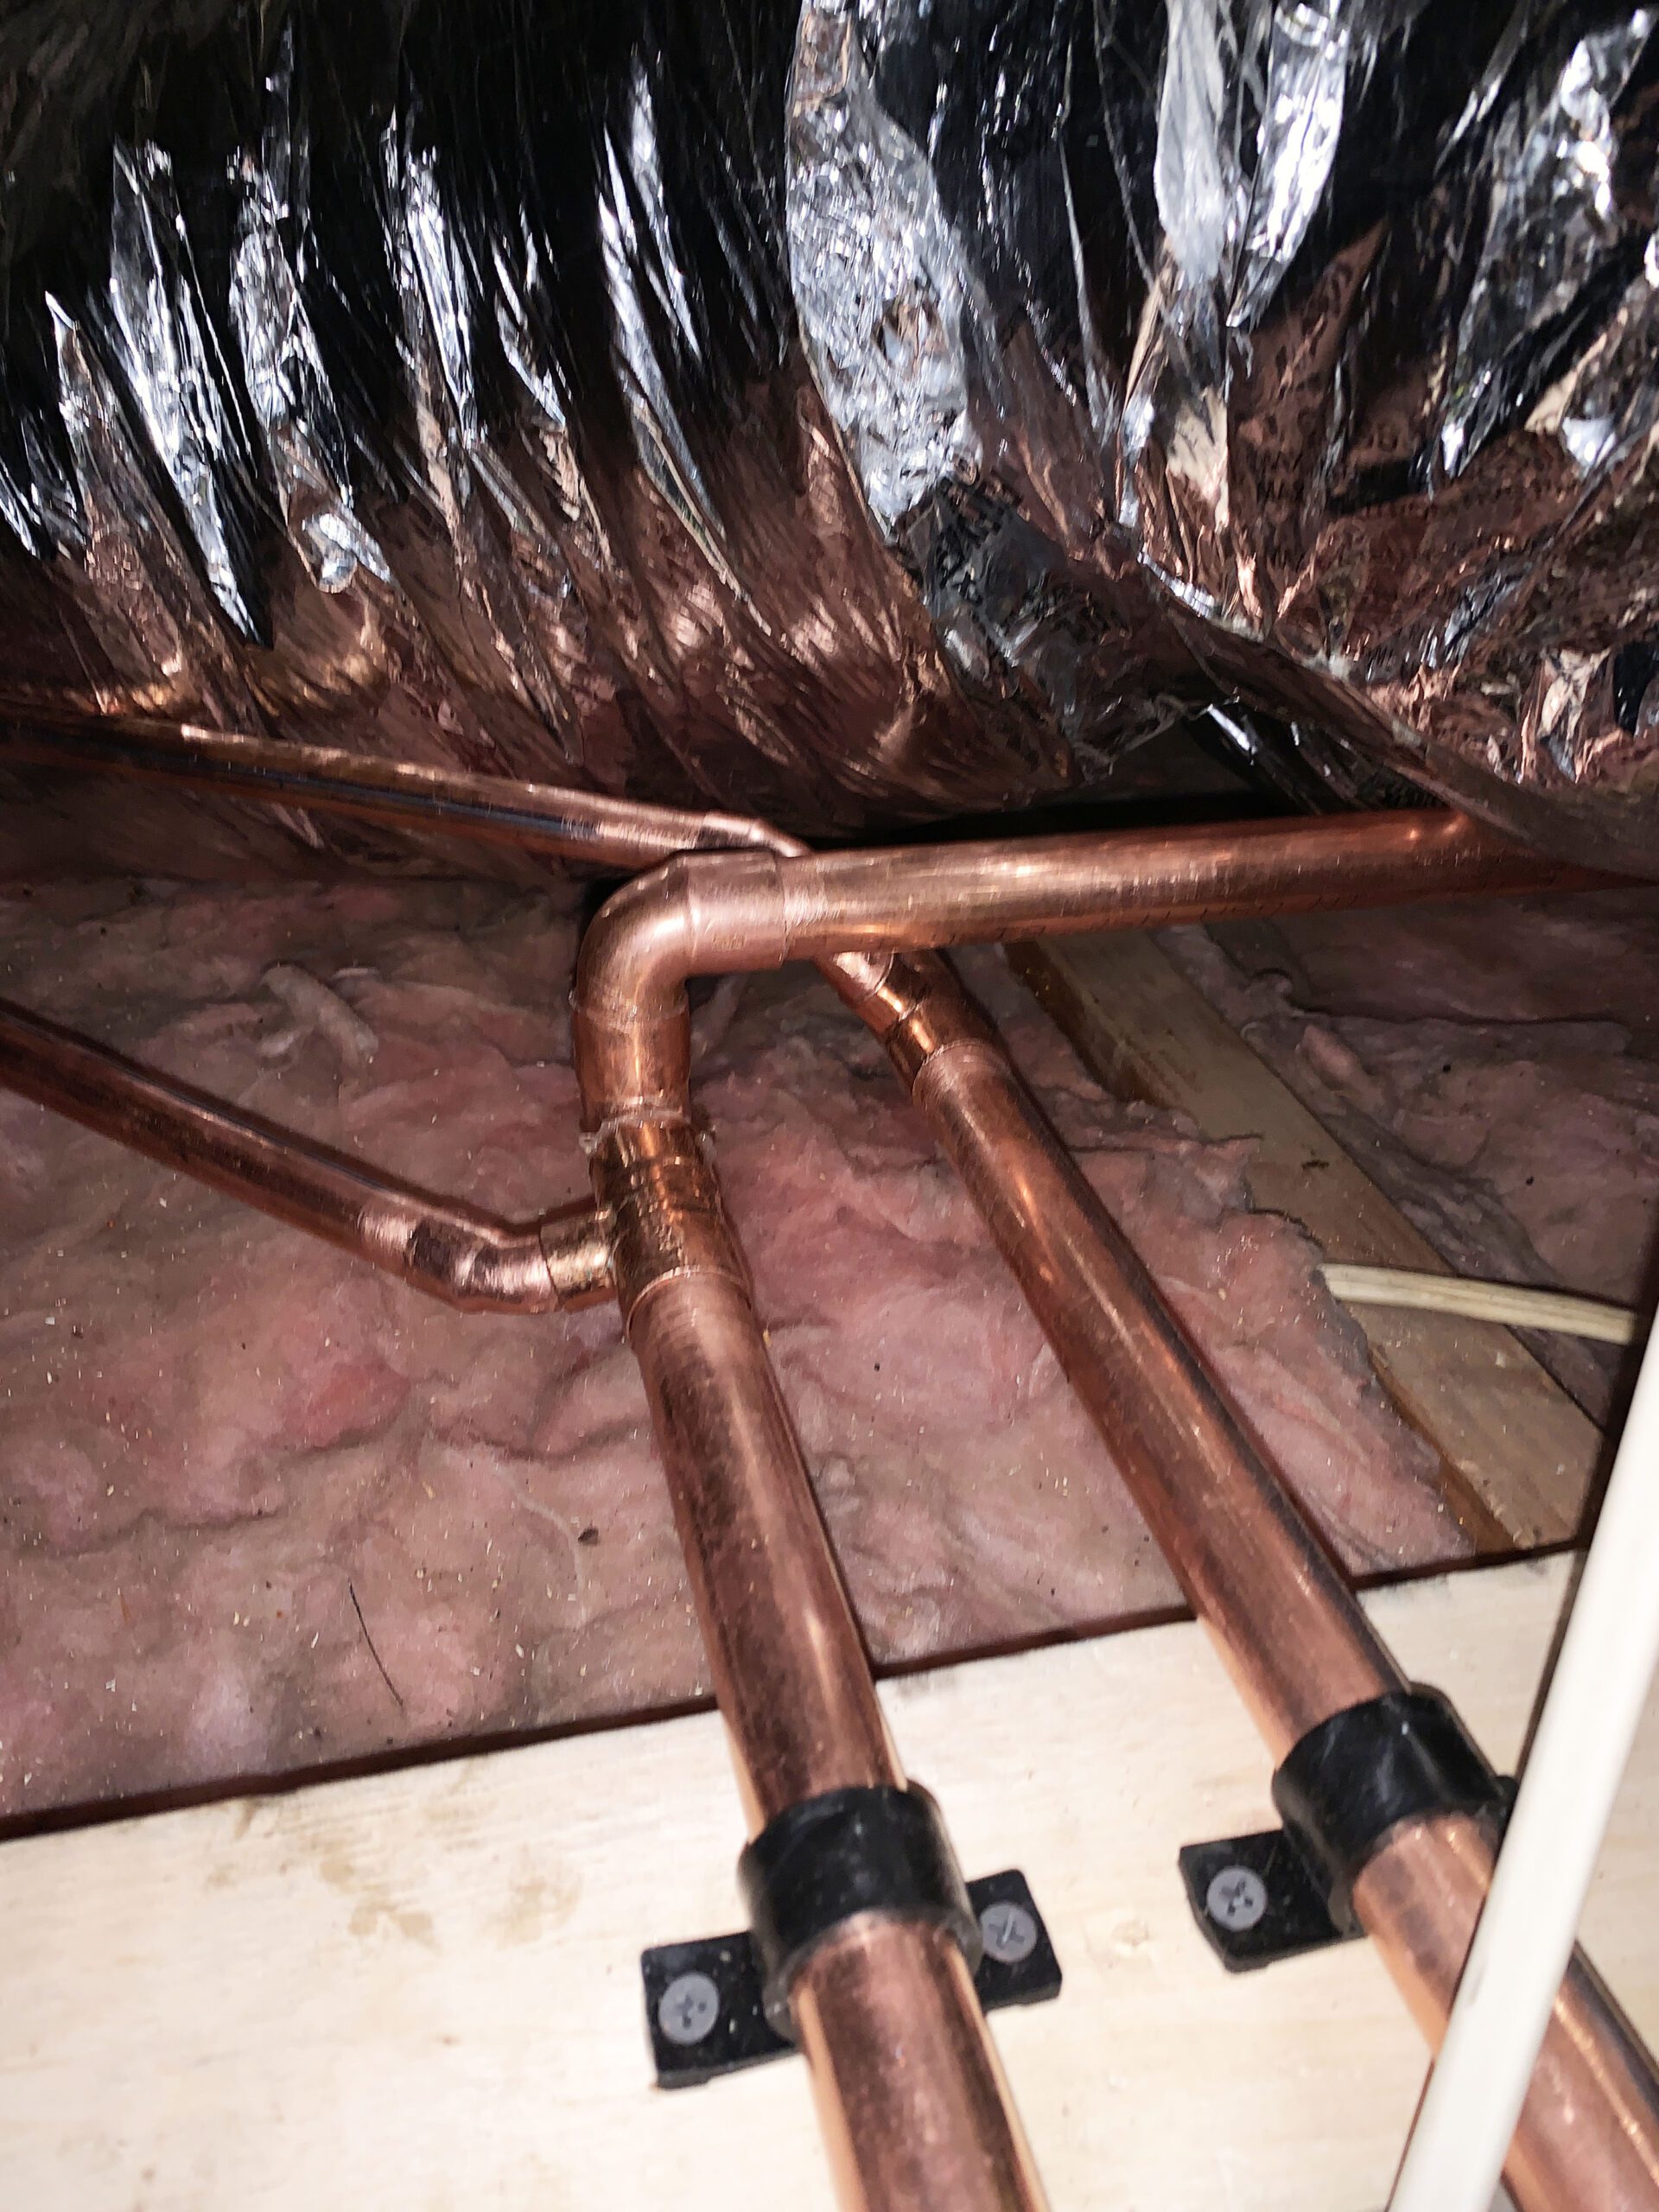
Copper has been the industry standard for a very long time. It produces sturdy joints and has a longer lifetime span than PEX. The only disadvantage of using copper in repipe services is that the upfront cost is higher than PEX.
–PEX.
This material is flexible and makes piping easy to install, it is strong towards acidic compounds as well. On the bad side, it can be easily damaged by ultraviolet light, and rodents between drywalls, or up in the attic.
Our Company Takes These Steps Everytime We Perform A Repipe
Step 1: Inspection
Careful inspection throughout the home, paying attention to the current placements of pipes and the amount of fixtures, such as toilets, sinks, showers, tubs, ice makers, hose bibs.
Step 2: Planning
Thorough planning based on the placement of the fixtures, making a determination of where the shortest way for the pipes would be to make sure that we can have hot water being pumped as fast as possible. This will save water and energy, as well as ensure that there is little to no inconvenience to the homeowners.
Step 3: Building The New Water System
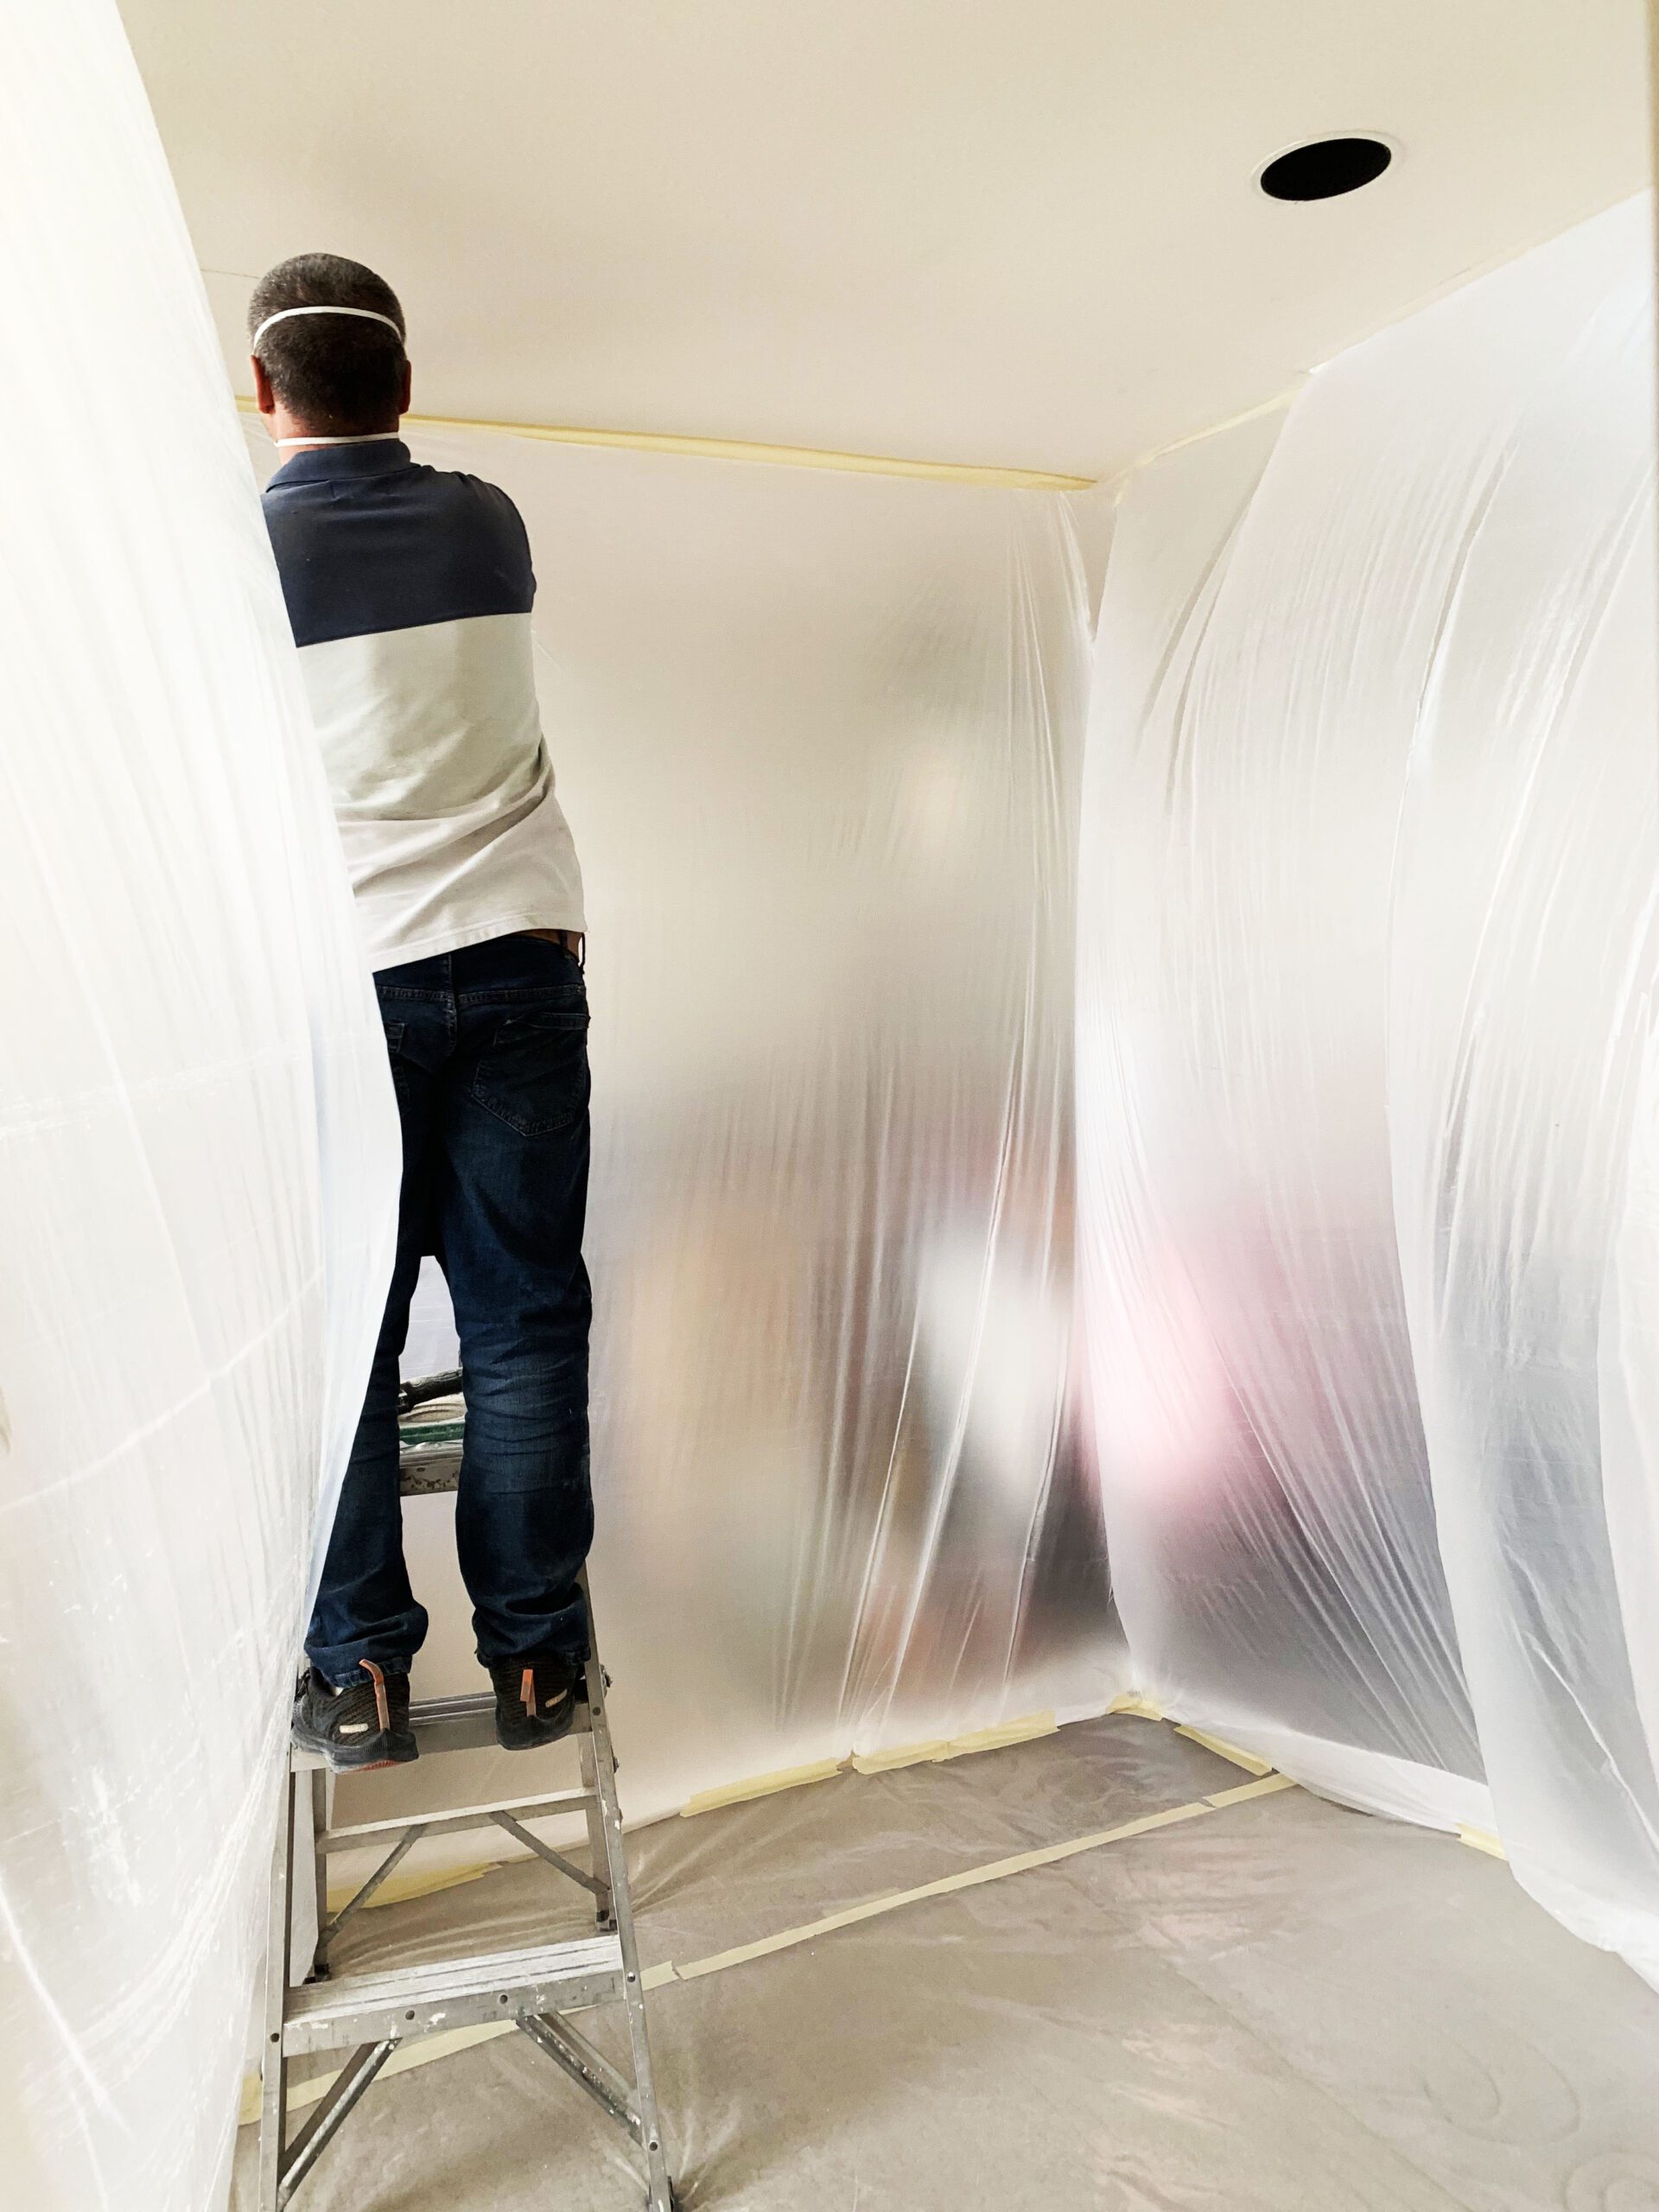
- Place plastic protective sheets on the floor and all furniture to prevent dust or dirt.
- A couple of one-square-foot openings in the walls or ceilings per each fixture.
- Begin locating the new pipes towards the new route, connecting them and finishing them up. Make sure everything is built safe, protective and sturdy.
- After we get close to arranging all the new water pipes, we start cutting and putting away the old rusty and leaky pipes (for that reason the water will have to be shut off for a good amount of time throughout that day, however, we make sure you have water every night, before our team leaves).
- The creation of your new water system includes new angle valves, PRV (pressure regulator valve) from the main pipe that delivers water to the house from the street. After all pipes, valves and fixtures are fully complete, we put protective insulation over the hot side, to minimize heat loss.
- The system is inspected once it’s complete as well as a second inspection is performed 12 hours after the first check up.
- The last activity is closing all the drywall openings that had been made by our company. After closing them, plaster the openings, spray texture if needed to match your current wall design.
- Final Clean Up. Our Company is responsible for cleaning up and making sure you have at least one TOILET, one SINK and one SHOWER available to use before we leave every workday.


